Creating a stable, perfectly sloped foundation for tile installations relies heavily on a properly proportioned dry-pack mortar bed. Unlike fluid grout or creamy thinset mortar, dry-pack mortar has a consistency often described as damp earth or packed snow. It contains just enough moisture to activate the cement hydration process without flowing or slumping. Calculating the correct quantities of masonry sand, Portland cement, and water prevents structural failure, drainage pooling, and premature cracking beneath heavy floor tiles or shower pans. Using a systematic approach to determine volume, weight, and component ratios ensures you purchase the exact material quantities needed for your project without wasteful overages or frustrating mid-project shortages.
This comprehensive guide details the mathematical principles behind dry-pack mortar calculations, provides two detailed numerical examples, outlines step-by-step measuring procedures, highlights frequent installation pitfalls, and answers essential questions regarding mix consistency, curing times, and slope requirements. For precise volume estimation of your project space, you can also utilize specialized tools such as the Volume Calculator or the Concrete Volume Calculator to cross-reference your cubic dimensions.

Understanding the Dry-Pack Mortar Formula and Proportions
The standard industry ratio for dry-pack mortar—frequently used for shower mud beds, thick tile underlayments, and floor leveling—is typically 4 to 5 parts clean masonry sand to 1 part Portland cement by volume. In high-stress commercial applications or specific manufacturer guidelines, a 4:1 ratio is preferred for enhanced compressive strength, while a 5:1 ratio is common for residential shower pans where moderate traffic is expected.
To calculate the required materials, you must first determine the total volume of the space you intend to fill. The basic volume formula for a rectangular area is:
Volume (cubic feet) = Length (feet) × Width (feet) × Thickness (feet)
When dealing with sloped shower pans, the thickness is not uniform. The depth varies from a minimum thickness at the drain (often 1/4 inch to 1/2 inch) to a maximum thickness at the perimeter walls. In these cases, you must calculate the average thickness:
Average Thickness (feet) = [Maximum Thickness (feet) + Minimum Thickness (feet)] / 2
Once you have established the total cubic feet of dry-pack mortar required, you must account for the bulking and compaction of dry materials when mixed. Loose dry sand and cement pack down when compacted into place. Contractors generally apply a compaction factor multiplier of approximately 1.15 to 1.20 to convert loose volume calculations into actual compacted volume requirements, ensuring you do not run short due to settling.
Step-by-Step Material Calculation Method
Calculating the exact quantities of sand, cement, and water involves a logical progression from spatial dimensions to individual bag quantities. Follow these structured steps to evaluate your material needs accurately:
- Measure the Boundaries: Measure the length and width of the room or shower base in inches, then convert these measurements into feet by dividing by 12.
- Determine Target Thickness: Establish your minimum and maximum depth requirements. For flat tile underlayments, use the uniform depth. For sloped surfaces, calculate the average depth.
- Calculate Total Cubic Feet: Multiply length, width, and average thickness. Multiply this result by your compaction factor (1.15) to find the total compacted volume needed.
- Apply the Mix Ratio: If using a 4:1 ratio (4 parts sand to 1 part cement), divide the total volume by 5 to find the total parts. Multiply that unit part value by 4 to get the required cubic feet of sand, and by 1 to get the cubic feet of cement.
- Convert to Bags: Standard Portland cement comes in 94-pound bags yielding approximately 1 cubic foot of solid material. Masonry sand is typically sold in 50-pound or 80-pound bags (where an 80-pound bag yields roughly 0.6 to 0.65 cubic feet of sand, depending on moisture content). Divide your required cubic volumes by the yield per bag to determine how many bags to purchase.
Worked Example 1: Flat Tile Underlayment Room Floor
Imagine you are preparing a room for heavy stone tile installation. The room is a rectangle measuring 10 feet long by 8 feet wide. You need to pour a uniform dry-pack mortar bed across the entire floor with a thickness of 1.5 inches (0.125 feet).
- Length: 10 feet
- Width: 8 feet
- Thickness: 1.5 inches / 12 = 0.125 feet
- Raw Volume: 10 ft × 8 ft × 0.125 ft = 10.0 cubic feet
- Compacted Volume (1.15 multiplier): 10.0 × 1.15 = 11.5 cubic feet
Next, we apply a standard 4:1 sand-to-cement ratio (totaling 5 parts):
- Sand Proportion (4/5): 11.5 cubic feet × 0.8 = 9.2 cubic feet of masonry sand
- Cement Proportion (1/5): 11.5 cubic feet × 0.2 = 2.3 cubic feet of Portland cement
Converting these volumes into standard packaging requirements:
- Portland Cement: At roughly 1 cubic foot per 94-pound bag, you will need 2.3 bags, meaning you must purchase 3 bags.
- Masonry Sand: Assuming standard 80-pound bags yield about 0.64 cubic feet each, divide 9.2 cubic feet by 0.64, resulting in 14.37 bags. You will round up to 15 bags of sand.
Worked Example 2: Sloped Shower Pan Mud Bed
Consider a square custom shower pan measuring 4 feet by 4 feet (48 inches by 48 inches). The perimeter edge against the walls has a target thickness of 2.0 inches, while the slope tapers down to 0.5 inches right at the clamping drain assembly.
- Length: 4 feet
- Width: 4 feet
- Maximum Thickness: 2.0 inches / 12 = 0.1667 feet
- Minimum Thickness: 0.5 inches / 12 = 0.0417 feet
- Average Thickness: (0.1667 + 0.0417) / 2 = 0.1042 feet
- Raw Volume: 4 ft × 4 ft × 0.1042 ft = 1.667 cubic feet
- Compacted Volume (1.20 safety multiplier for detailed hand shaping): 1.667 × 1.20 = 2.0 cubic feet
Applying a 4:1 ratio for this structural shower application (totaling 5 parts):
- Sand Volume: 2.0 cubic feet × (4/5) = 1.6 cubic feet
- Cement Volume: 2.0 cubic feet × (1/5) = 0.4 cubic feet
Converting to bags:
- Portland Cement: 0.4 cubic feet requires less than a full 94-pound bag; however, since partial bags are impractical, you will need to open 1 full bag of Portland cement.
- Masonry Sand: 1.6 cubic feet divided by 0.64 cubic feet per 80-pound bag equals 2.5 bags. You must purchase 3 bags of masonry sand.
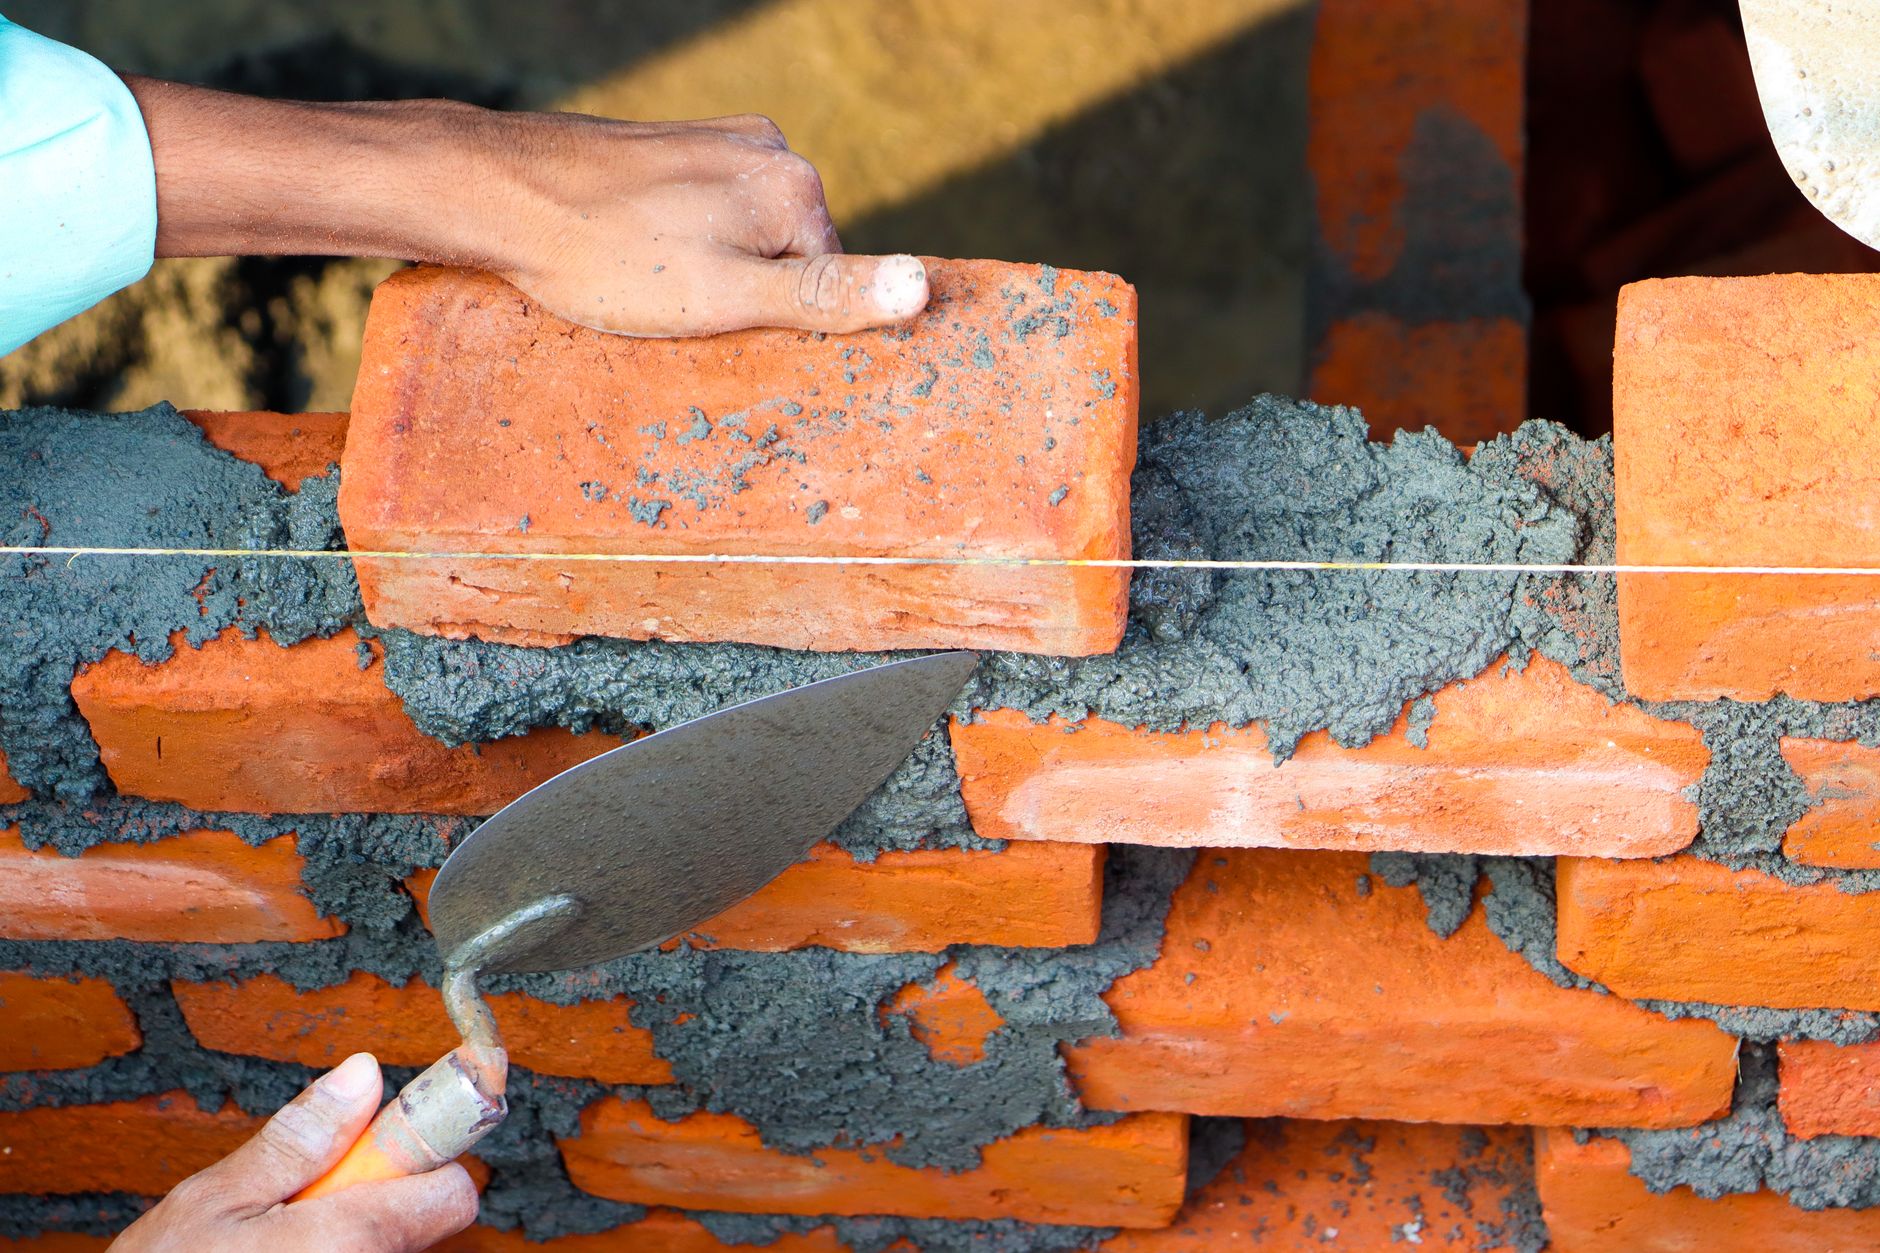
Water Content and Consistency Control Math
The single greatest variable in dry-pack mortar preparation is water content. Adding too much water turns the mixture into sloppy concrete or mortar that shrinks, cracks, and loses its structural integrity when shaped into a slope. Adding too little water leaves unhydrated cement powder that fails to cure properly.
The target water-to-cement ratio by weight for dry-pack mortar typically ranges between 0.35 and 0.45. In practical terms, this means adding just enough water so that when you grab a handful of the mixed mortar and squeeze it firmly into a ball in your gloved hand:
- The ball retains its molded shape without crumbling apart instantly.
- Your hand remains damp with a slight moisture sheen, but water does not drip or pool between your fingers.
- When dropped from a height of about 12 inches onto a hard surface, the ball shatters cleanly into several cohesive chunks rather than flattening out like wet clay or turning into dust.
When planning liquid volumes for your mix batch, remember that 1 gallon of water weighs approximately 8.34 pounds. If you are mixing 1 bag of 94-pound Portland cement with four 80-pound bags of sand (totaling roughly 414 pounds of dry material), a 0.40 water-to-cementitious ratio by weight would suggest roughly 37.6 pounds of water, which translates to approximately 4.5 gallons of water distributed gradually across the entire batch.
Common Calculation and Installation Mistakes
Avoiding common errors saves time, materials, and structural integrity during tile installation:
- Ignoring Sand Moisture: Masonry sand stored outside often contains natural moisture. Wet sand occupies more volume per weight than dry sand. Failing to account for damp sand can leave you short on actual solid material.
- Skipping Compaction Factors: Loose dry materials occupy more space before packing. If you calculate volume without adding a compaction multiplier (1.15 to 1.20), you will find yourself running out of mud before completing the bed.
- Incorrect Ratio Interpretation: Confusing weight ratios with volume ratios can ruin batch consistency. Standard masonry mixes are proportioned by volume parts (e.g., four buckets of sand to one bucket of cement).
- Over-watering the Batch: Pouring water directly into the mixing tub without measuring leads to soup. Always add water slowly using a spray bottle or garden hose nozzle with a mist setting while mechanically mixing.
- Neglecting Subfloor Bonding: Dry-pack mortar requires a clean subfloor and a slurry coat (neat cement and water mixture brushed onto the subfloor) to bond effectively; otherwise, the entire dried bed can delaminate and shift.

Frequently Asked Questions
What is the difference between dry-pack mortar and regular thinset?
Dry-pack mortar consists of masonry sand, Portland cement, and minimal water mixed to a damp-earth consistency, used primarily for thick leveling beds and shower pan slopes from 1/2 inch to several inches thick. Thinset is a fine, polymer-modified adhesive containing sand and cement mixed to a creamy paste, designed to bond tiles in thin layers typically ranging from 1/8 inch to 1/4 inch.
Can I use pre-mixed concrete bags instead of mixing sand and cement?
Standard pre-mixed concrete (like standard 4000 PSI concrete) contains coarse gravel aggregates. Coarse gravel makes it nearly impossible to screed thin edges, form tight shower slopes around drains, or achieve a smooth surface finish for tile underlayments. You should always use masonry sand combined with Portland cement, or specialized pre-blended mud bed mixes designed specifically for tile installations.
How long does dry-pack mortar take to cure before I can install tile?
Most dry-pack mortar beds achieve initial set within 24 hours, allowing you to walk carefully on the surface to install tile. However, full structural curing takes approximately 28 days. For tile installation, manufacturers generally recommend waiting a minimum of 24 to 48 hours, keeping the mortar bed covered or damp-cured to ensure maximum compressive strength development.
For more material planning assistance across other household projects, explore our related guides and tools including the Tile Calculator and the Storage Volume Calculator.
How do I maintain the correct slope for a shower drain?
The standard building requirement for shower pan slopes is a minimum fall of 1/4 inch per linear foot from the outer walls to the drain inlet. Using screed strips or pitch gauge stakes placed radially from the drain helps guide your straightedge to maintain an even, continuous downward slope across the entire dry-pack bed.
Why does my dry-pack mortar crumble after drying?
Crumbling or dusting dry-pack mortar is almost always caused by insufficient water during mixing (preventing full cement hydration), improper curing (letting the bed dry out too fast in hot or breezy conditions), or using too much sand relative to the cement binder. Always follow your calculated mix ratio and mist the finished bed during the first 48 hours to ensure proper curing.
Conclusion
Calculating the correct dry-pack mortar mix ratio and total material volume is essential for achieving a durable, level, and properly sloped foundation for tile floors and shower installations. By carefully measuring your dimensions, applying a 4:1 or 5:1 volume ratio, accounting for material compaction, and strictly monitoring water content, you eliminate guesswork and material waste. Taking the time to perform these calculations beforehand ensures structural stability and professional long-term results for your flooring project.
Found this calculator guide useful? Support more free tools.
Buy Me a Coffee
Comments
Post a Comment